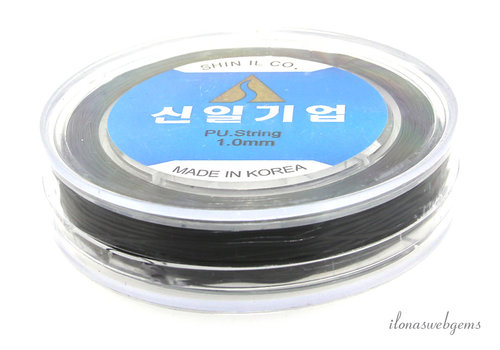
Round elastic for bracelets
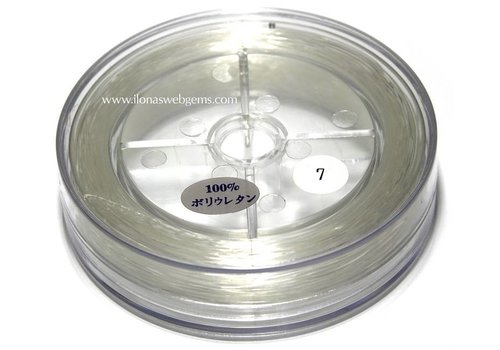
Elastic for jewelry (colorless)
Elastic for jewelry (colorless) is always handy to have in the house. Ideal for making bracelets and other jewelry with stretch. Our colorless elastic is available on rolls of 50 meters. It is mega strong and super elastic. No problem if jewelry is often put on and taken off.
Using elastic for jewelry
In daily life we encounter elastic a lot. Think of the elastic band that is around spring onions and the well-known postal elastic. The latter is made of rubber and is very popular with children. For example, you can make a beautiful catapult with it. The word elastic refers to various stretchable materials. Incidentally, not all stretchable materials are also elastic.
Elastic is used in clothing (such as an elastic band in sleeves) and in stretchable fabrics. As you have already noticed, you can also find elastic bands at the greengrocer's and at the post office. In addition, you can see that elastic materials are also used to dampen vibrations.
Elastic is also used a lot in the bead world . This way you can easily make a bracelet from beads and string it on elastic. Knot both ends and your bracelet is ready. Quick, easy, fits everyone and can be put on by everyone independently. After all, you do not need help to operate a clasp. In this way you can also make a wrap bracelet. The size of the wrist and the size of the beads are important. The bracelet should not be too loose but certainly not too tight either. You can also choose to weave a wide bead bracelet. For this it is important that the vast majority of the beads are the same size. The beads then alternate in height, which gives a playful effect. You can also make your own hair elastic with it. For this, use the cut-off ends that are left over. Place the elastic in a '8-shape' and string a few beautiful beads onto the loops. In the middle you put the elastic in a crimp bead. Make your loops to size and crimp the crimp bead closed with a pair of pliers. Cut off the loose ends and finish with a crimp bead cover.
Perfect elastic for bracelets
The elastic in our range is very suitable for making bracelets. Elastic for bracelets offers several advantages over traditional closures such as a lock or a buckle. Here are some reasons why elastic is the perfect choice for your bracelets:
- Easy on and off: Elastic makes it easy to put on and take off your bracelets. You don't have to fuss with fastening a clasp or adjusting a buckle. The elastic conforms to the shape of your wrist and stays securely in place.
- Comfortable to wear: Elastic for bracelets is comfortable to wear because it is soft and flexible. Due to the stretch, the bracelet will not be too tight on your wrist.
- Suitable for all wrist sizes: Elastic for bracelets comes in different thicknesses and elasticity levels, making it suitable for all wrist sizes. Whether you have a narrow or a wide wrist, you can always find elastic that fits perfectly.
- Versatile and Customizable: Elastic bracelets are incredibly versatile and customizable. You can mix and match them with different beads, charms, and other decorative elements to create unique and personalized bracelets. The possibilities are endless.
How to Make Bracelets with Elastic?
Making elastic bracelets is incredibly fun and relatively easy. It doesn’t require any special skills or tools. Follow these simple steps to make your own beautiful bracelets:
EXAMPLE 1
Step 1: Gather all of the materials you will need, including elastic, beads, charms, and any other decorative elements you would like to use.
Step 2: Measure the desired length of your bracelet by wrapping the elastic around your wrist. Add a few extra inches if needed for a comfortable fit.
Step 3: String the beads and charms onto the elastic in the desired order. Be creative and experiment with different colors and patterns.
Step 4: Once you are happy with the design, tie the elastic securely. Use a double knot to ensure it does not come undone. We will give a detailed explanation for a secure knot later in this article.
Step 5: Trim off any excess elastic, leaving enough slack so the knot remains secure.
Step 6: Check the fit of your bracelet by sliding it around your wrist. If necessary, adjust the length by untying the knot and trimming the elastic.
With these simple steps you can effortlessly make your own bracelets and express your personal style.
A sturdy knot in your bracelet elastic: this is how you do it!
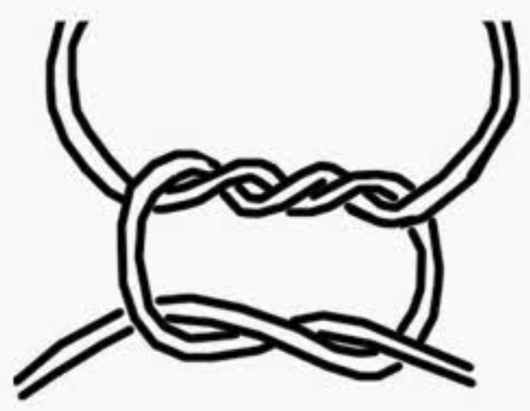
Are you busy making your own beaded bracelets? Then you probably know how important it is to put a sturdy knot in your elastic. Such a knot ensures that your bracelet does not fall apart and that you can enjoy it for a long time. In the video below you can see step by step how to make a sturdy knot in your bracelet elastic. Below the video you can read more extensively how to do this.
EXAMPLE 2
Step 1: The Beginning
Let's get started! Once you've strung your bracelet full of your favorite beads, grab the elastic at both ends and keep it tight. This will ensure that your knot will be nice and secure.
Step 2: First turn over once
Now we are going to tie the elastic. Take the end of the elastic in one hand and wrap it around your other hand once.
Step 3: Fold over the top twice
Then you wrap the end around your one hand again, this time twice. The elastic will now have two loops around your other hand.

Step 4: There's your button
At this point you have already created a solid base for your knot. The elastic is now tightened. This is when you will see your knot starting to form.
Step 5: Tighten firmly
The secret to a strong knot is to tighten it properly. Hold the loops tightly with one hand while you slowly pull the end of the elastic with your other hand. You will notice that the elastic wraps itself around the loops and forms a nice knot.
Step 6: Work the knot into a bead
Tadaa, you have now made a sturdy knot in your bracelet elastic! This knot ensures that your beads do not slide off and that your bracelet stays nicely in place. Work the knot away in a bead, so that you will not see it later.
Step 7: Cut off the end and you're done
Once you are happy with your button, you can trim off any excess elastic with scissors, being careful not to cut too close to the button.
And there you have it, a sturdy knot in your bracelet elastic that will keep your beads in place. Have fun making your own bracelets and tying perfect knots in your elastic!


